General Usage
This chapter covers the ordinary user journey: registering an account, logging in, understanding your subscription, navigating the dashboard and archives workspace, using the browser plugin for live capture, organizing with folders, managing your profile, and importing archives from browser exports.
|
Plan-gated features in Pemarks are enforced in both the UI and the backend. When this guide says a feature needs a specific plan, that is based on the actual entitlement logic in |
This chapter walks through the features you will use every day. By the end, you should be comfortable creating an account, navigating the application, creating your first archive, using the browser plugin, and organizing your work.
1. Accessing Pemarks
Pemarks has two faces:
-
The public site, which explains the product, presents the subscription plans, and provides access to legal documents and the login flow.
-
The application, which is the authenticated workspace where you manage archives, versions, folders, imports, schedules, and replay access.
Once you log in, you enter the application and stay there until you log out or your session expires.
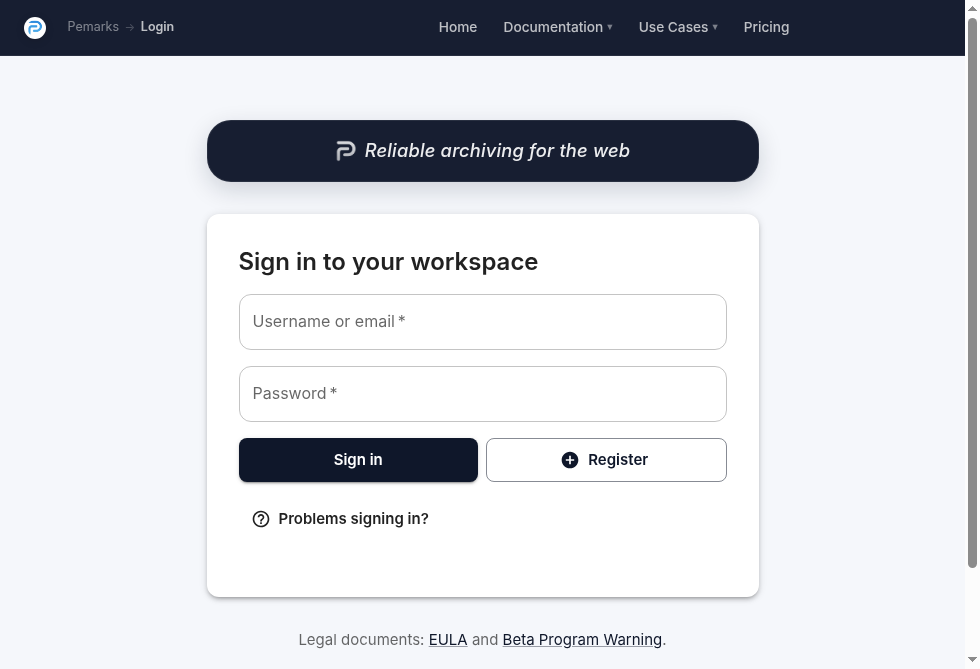
2. Creating An Account
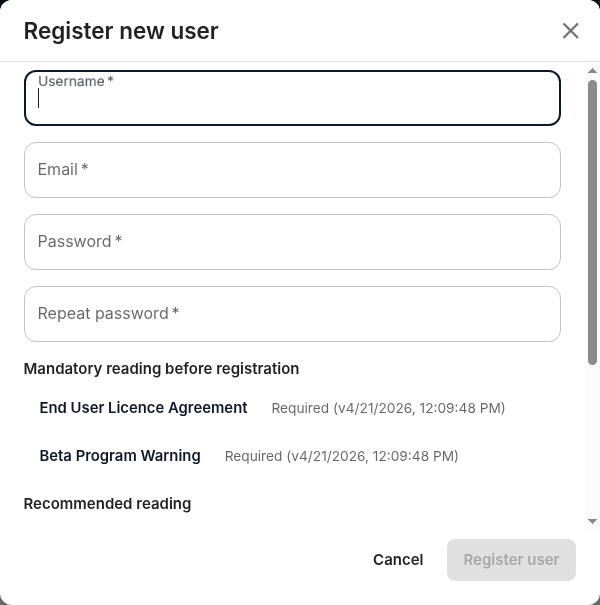
Registration is available from the login screen. The process is straightforward, but there are a few things to know before you start.
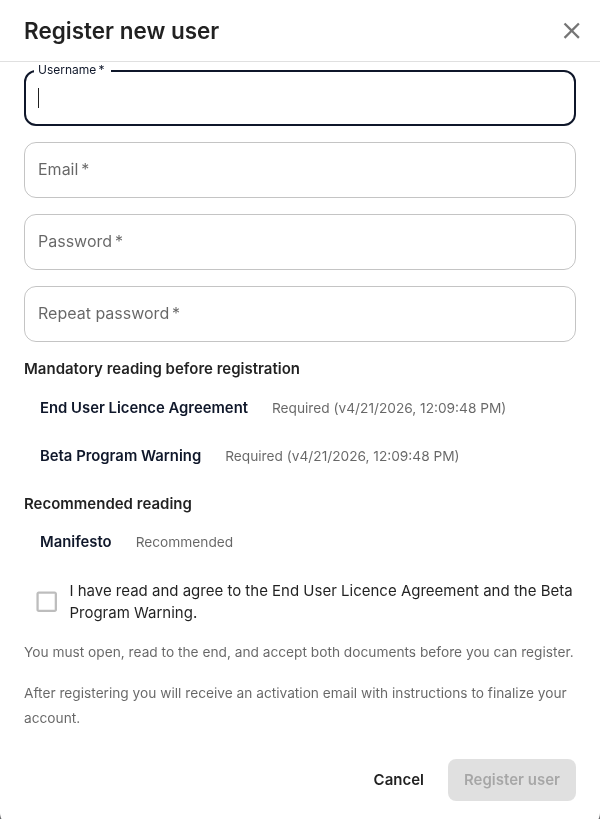
2.1. What You Need
-
A username (must be unique and pass Pemarks validation rules)
-
A valid email address (Pemarks will verify it)
-
A password (entered twice for confirmation)
2.2. Legal Acknowledgements
During registration, you are asked to read and accept two documents:
- End User License Agreement (EULA)
-
The governing legal terms for using Pemarks. This document defines the scope of the service, warranty disclaimers, liability limits, and your responsibilities as a user. Reading and accepting it is required.
- Beta Program Warning
-
Pemarks is currently operated as a beta service. This document explains what that means in practice: infrastructure may evolve, migration windows may occur, and service interruptions are possible. Reading and accepting it is required.
- Manifesto
-
The product mission statement, explaining why Pemarks exists and how it intends to operate. Available as recommended reading but not required to complete registration.
2.3. After Registration
Submitting the registration form does not immediately give you a fully active account. Pemarks sends an activation email to the address you provided. You need to follow the activation link before you can log in.
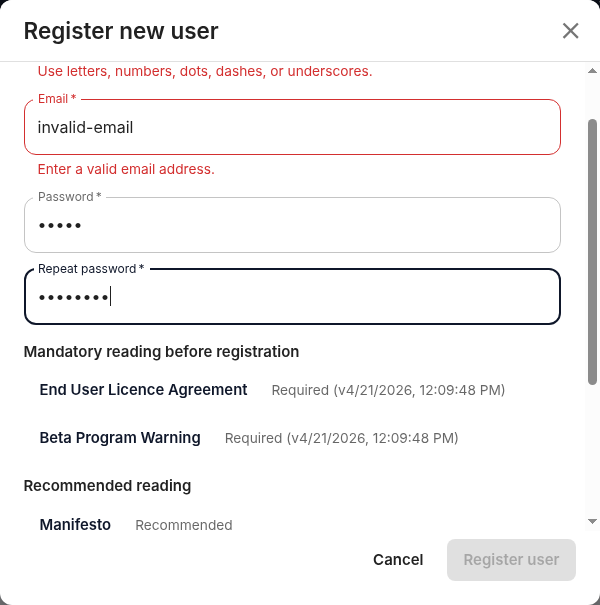
If anything is wrong with your submission — a duplicate username, an invalid email, mismatched passwords — the form shows a clear error message instead of silently failing.
3. Logging In
The login page accepts your username (or email) and password.
If your credentials are wrong or your account has not been activated yet, the page shows a clear failure message. The troubleshooting panel on the login page also lets you:
-
Reset your password if you have forgotten it
-
Resend the activation email if you did not receive it or the link expired
Once login succeeds, Pemarks loads your workspace context:
-
Your folders and default folder
-
Your subscription plan and what features it includes
-
Your current archive usage and limits
-
Your locale and timezone (used for scheduling features)
4. Understanding Your Subscription
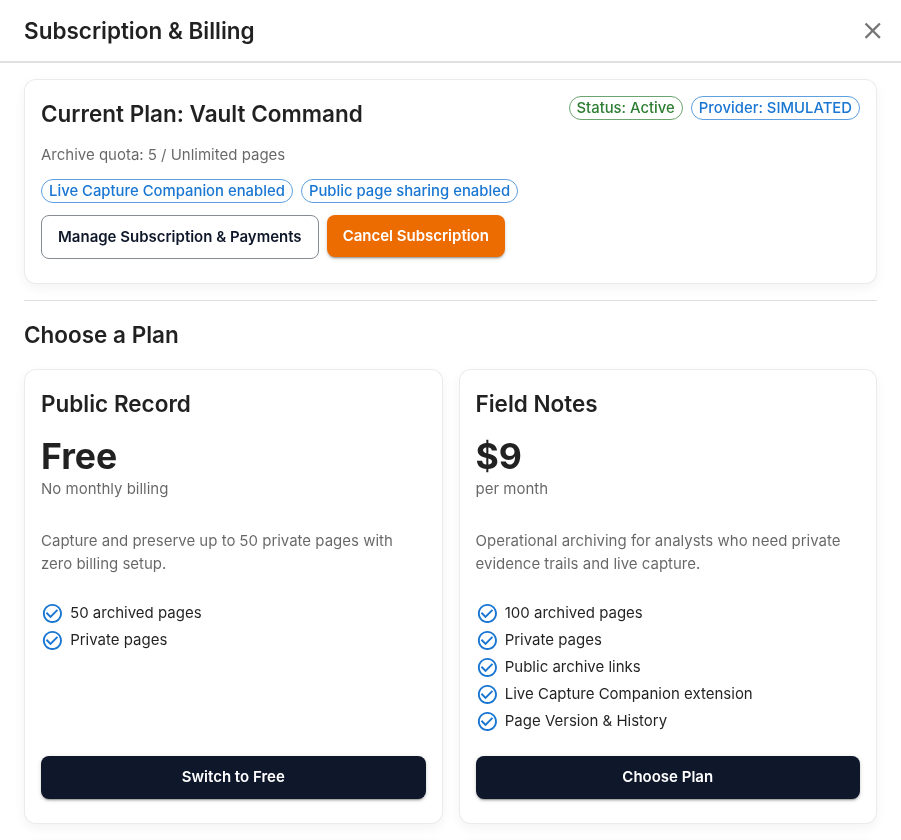
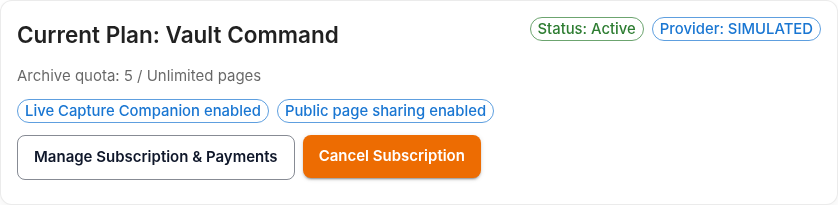
Every Pemarks account has an active plan, even if that plan is the free tier.
Understanding what your plan includes is important because Pemarks enforces entitlements throughout the application. Features that require a higher plan are not hidden — they are visible but clearly marked as requiring an upgrade.
Here is what each plan provides:
- Public Record (Free)
-
50 archived pages. Private archives only. No version history, no browser plugin, no import, no auto-archive. This plan is for getting started with Pemarks and testing the archival workflow.
- Field Notes ($9/month)
-
100 archived pages. Adds public archive sharing, version history (historization), and the Live Capture Companion browser plugin. This is the first plan where you can build dated records of how pages change over time.
- Casefile ($49/month)
-
500 archived pages. Adds archive import from browser bookmark exports and auto-archive scheduling (up to 10 schedules). This plan is designed for professional workflows that involve bulk archival and ongoing monitoring.
- Vault Command ($199/month)
-
Unlimited archived pages. Raises the auto-archive schedule limit to 20. Designed for teams and power users who need unrestricted archival capacity.
You can review and manage your subscription from the user menu at any time.
|
Remember that archive quota is based on archived pages (including versions), not the number of archive entries. One archive with 20 versions counts as 20 archived pages. Keep this in mind when using version history and auto-archive scheduling. |
5. The Dashboard
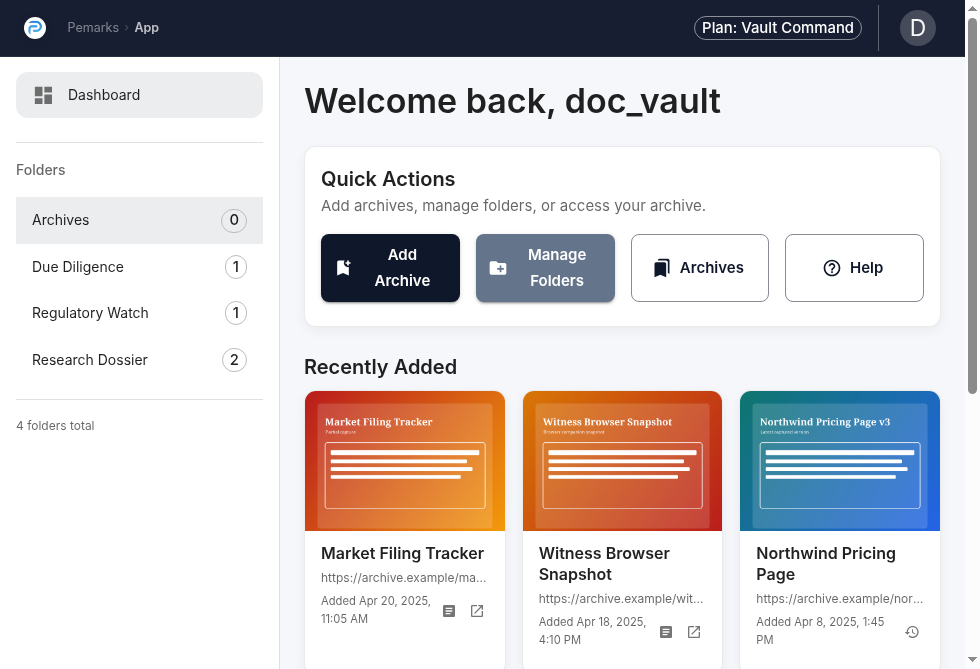
The dashboard is your home screen after login. It gives you quick access to the actions you need most and a summary of your current state.
5.1. Quick Actions
The dashboard provides direct access to:
-
Add Archive — start a new archival immediately
-
Manage Folders — organize your workspace before a large import or archival session
-
Archives — go to the full archives workspace
-
Help — access documentation and guidance
5.2. At-A-Glance Information
The dashboard also shows:
-
Your recently added archives, so you can check on captures in progress
-
Your current archive quota usage, so you know how much capacity remains
-
Summary statistics and charts about your archival activity
-
Warning states when you are approaching or have reached your plan limits
Use the dashboard as your starting point and check-in screen. For detailed work, move to the archives workspace.
6. The Archives Workspace
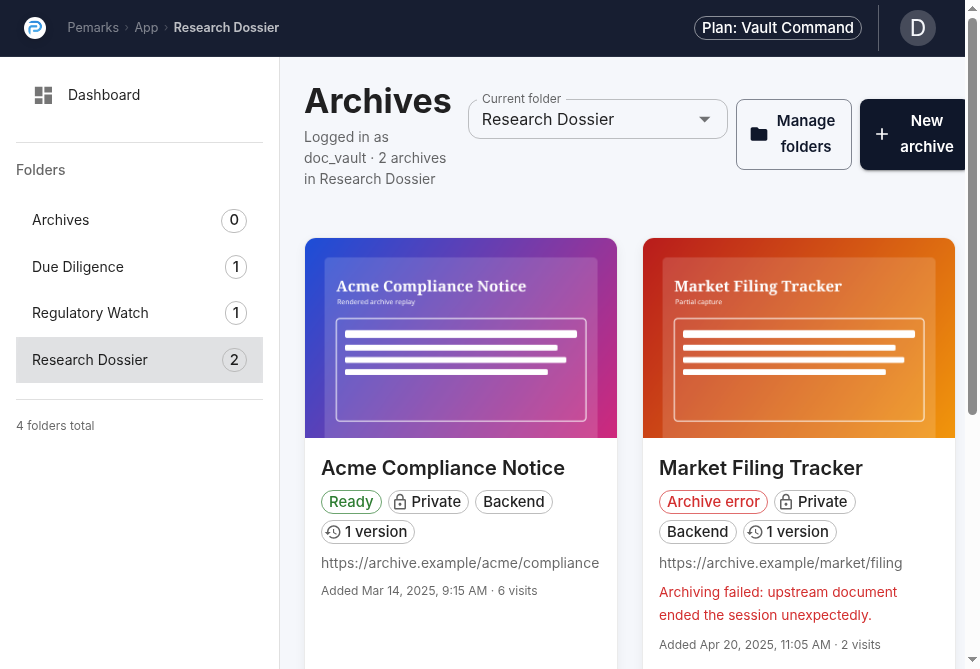
The archives workspace is where most of your daily work happens. This is where you see all your archives, their current status, and the actions available for each one.
6.1. What You Can Do Here
-
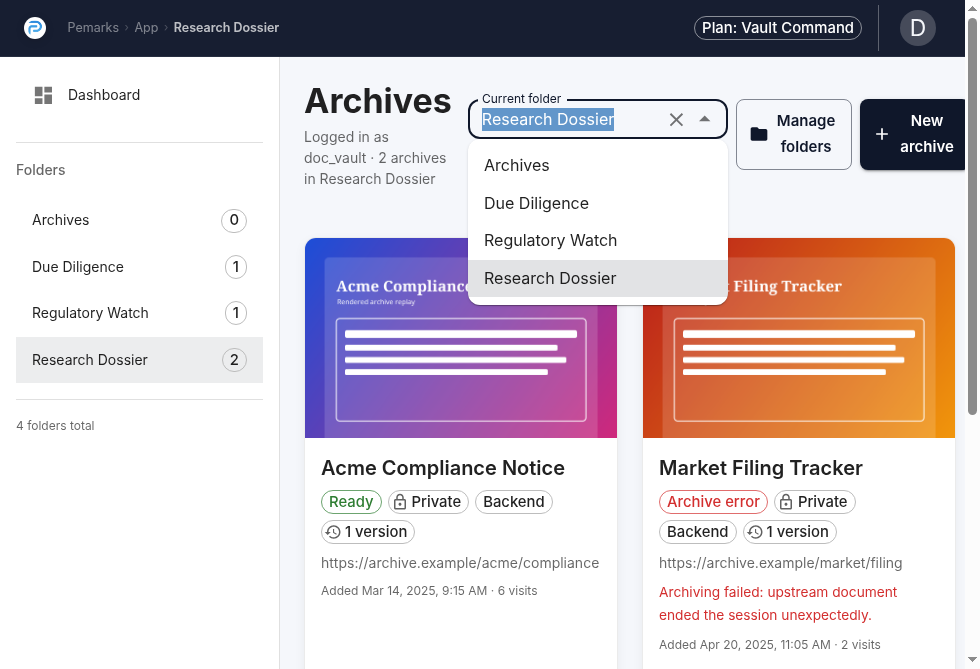
Switch between folders to focus on a specific matter, investigation, or project
-
Create new archives
-
Edit or move existing archives
-
Monitor the status of archives that are still being processed
-
Open the archived copy of a completed archive (the preserved Pemarks replay)
-
Open the live page to see what the original site shows right now
-
Open history to browse all versions of a multi-version archive
-
Drag and drop archives to reorder them within a folder
6.2. Understanding Archive Status
When you create an archive, it does not appear as immediately complete. The archives workspace shows the current processing state:
-
An archive that is still being captured shows a loading indicator
-
Once the screenshot is ready, you may see it before the full archive package is complete
-
When everything is finished, the archive is marked as ready and you can open the full replay
If something goes wrong during capture — the site was unreachable, the page blocked the browser, or an error occurred — the archive shows an error state with relevant information.
7. The Browser Plugin (Live Capture Companion)
|
The browser plugin requires a plan that includes the Live Capture Companion entitlement. Currently, that starts at Field Notes. |
The browser plugin exists for situations where speed and accuracy matter most: the page is open in your browser right now, and you want to archive exactly what you see before it changes or disappears.
7.1. Why Use The Plugin Instead Of The Regular Archive Flow
When you create an archive through the application, Pemarks sends a fresh browser to load the page from scratch. That works well for most situations, but it means:
-
If the page requires authentication, the Pemarks browser may not have access to your session
-
If the page is time-sensitive, it may have already changed by the time the Pemarks browser reaches it
-
If the page shows personalized content, the Pemarks browser sees the default view
The browser plugin solves these problems by starting from the page already loaded in your browser. It captures the document as you see it, with your cookies, your session, and the exact rendered state in front of you.
7.2. What The Plugin Gives You
In daily use, the browser plugin lets you:
-
Capture the current page immediately without leaving your browsing context
-
Choose the destination folder before the archive is created
-
Create a new archive or extend an existing one — if the page matches an existing archive by URL and title, and your plan supports version history, the plugin adds a new version to that archive’s history instead of creating a duplicate
-
Keep the browser available for resource fetching while Pemarks processes the archive in the background
That last point is worth understanding. After the plugin sends the initial page snapshot to Pemarks, the backend may still need to download additional resources (images referenced in CSS, fonts, SVG files, and so on). If your browser tab is still open, Pemarks can ask the plugin to fetch those resources using your browser’s cookies and cache, which often produces better results than the server fetching them independently.
7.3. Two Capture Modes
The browser plugin offers two capture modes that determine the strength of the evidence package:
Standard capture is the fast option. The plugin sends the page snapshot, and optionally a screenshot and PDF. Pemarks archives the page with whatever evidence is available. Use this when speed matters most and a lighter proof package is acceptable.
Guaranteed capture is the evidence-grade option. In addition to the page snapshot, the plugin is required to send a HAR (network recording) and netlog (transport-level log). The archive is marked as "guaranteed" only when this fuller evidence package is successfully delivered. Use this when the archive may need to withstand later scrutiny — for legal, compliance, or investigative purposes.
Both modes feed into the same archival pipeline. The difference is not in how the page is processed, but in the completeness of the evidence package that accompanies it.
7.4. Practical Tips For Plugin Use
-
Keep the tab open until Pemarks finishes processing. This gives the backend the best chance of using your browser for late-discovered resource fetching.
-
Use guaranteed capture when the archive matters for evidence. The HAR and netlog add transport-level context that a standard capture does not include.
-
Use standard capture when rapid reaction matters more than carrying the full evidence bundle. You can always create an additional guaranteed capture later.
-
Check the archive in the workspace after capture to confirm it reached the ready state.
8. Folder Management
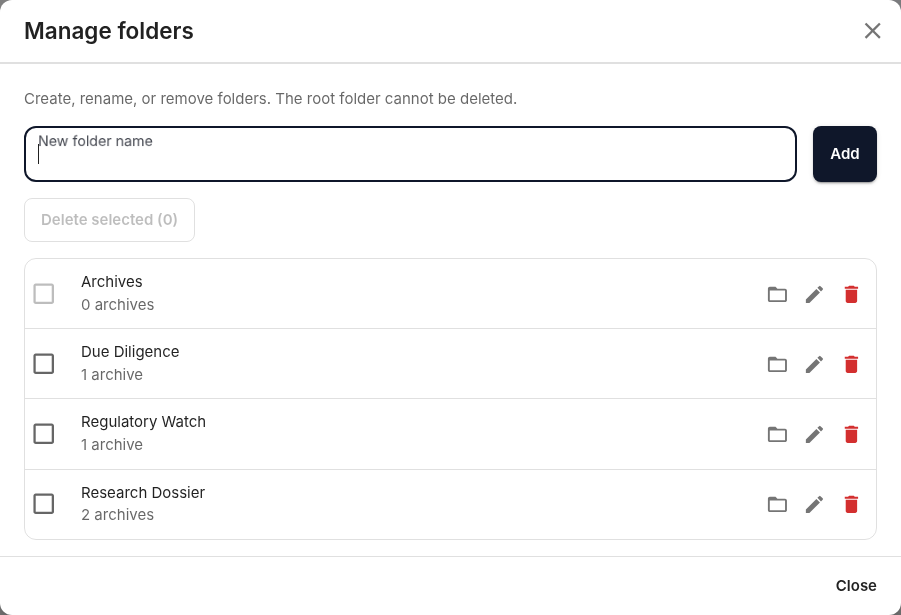
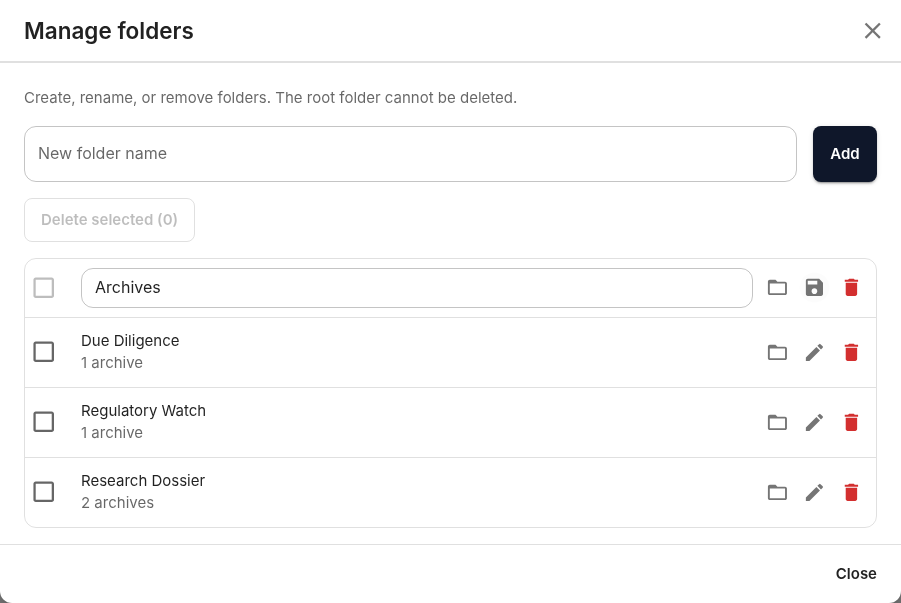
Folders organize your archives by investigation, client, project, research theme, or whatever structure makes sense for your work.
Every account has a root folder that serves as the default storage location. You can create additional folders to keep your workspace organized.
8.1. What You Can Do With Folders
-
Create folders for new matters, investigations, or projects
-
Rename folders when the scope or label changes
-
Set a default folder so new archives go to the right place without extra clicks
-
Delete folders when they are no longer needed
Organizing folders before a large import or batch archival session is a good habit. It keeps your workspace navigable as the number of archives grows.
9. The User Menu
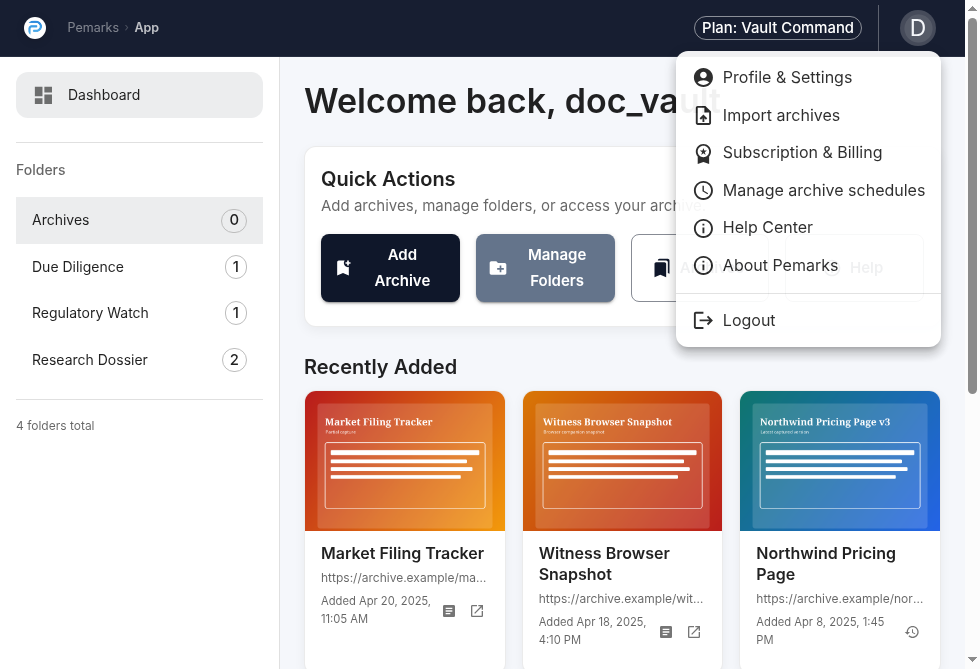
The user menu is your access point for account-level settings and secondary workflows. Depending on your subscription plan, it can include:
-
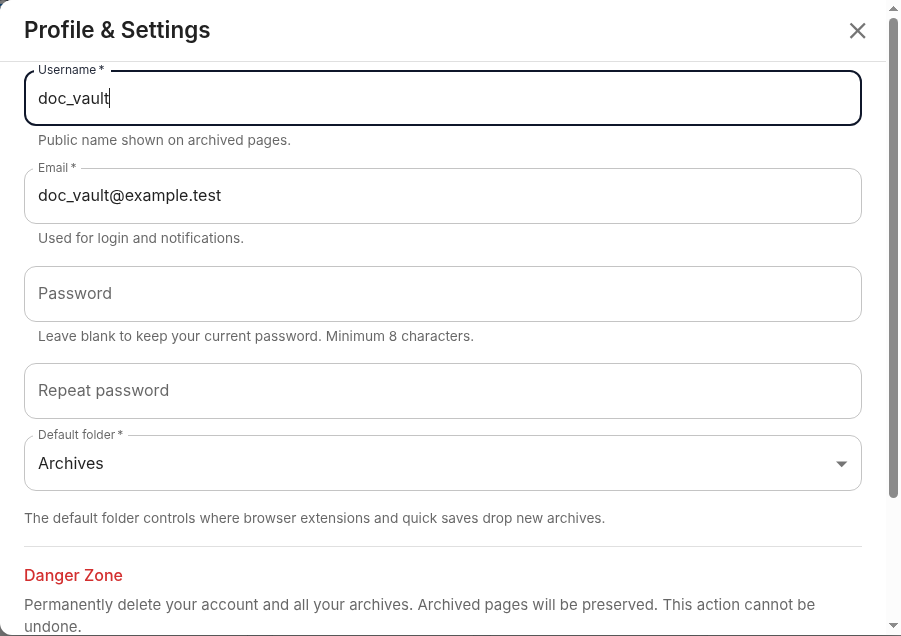
Profile & Settings — change your username, email, password, or default folder
-
Import Archives — bulk import from browser bookmark exports (Casefile and above)
-
Subscription & Billing — review and manage your plan
-
Manage Archive Schedules — configure auto-archive jobs (Casefile and above)
-
Help Center — access documentation and support resources
-
About Pemarks — version and product information
-
Logout — end your session
10. Profile And Account Settings
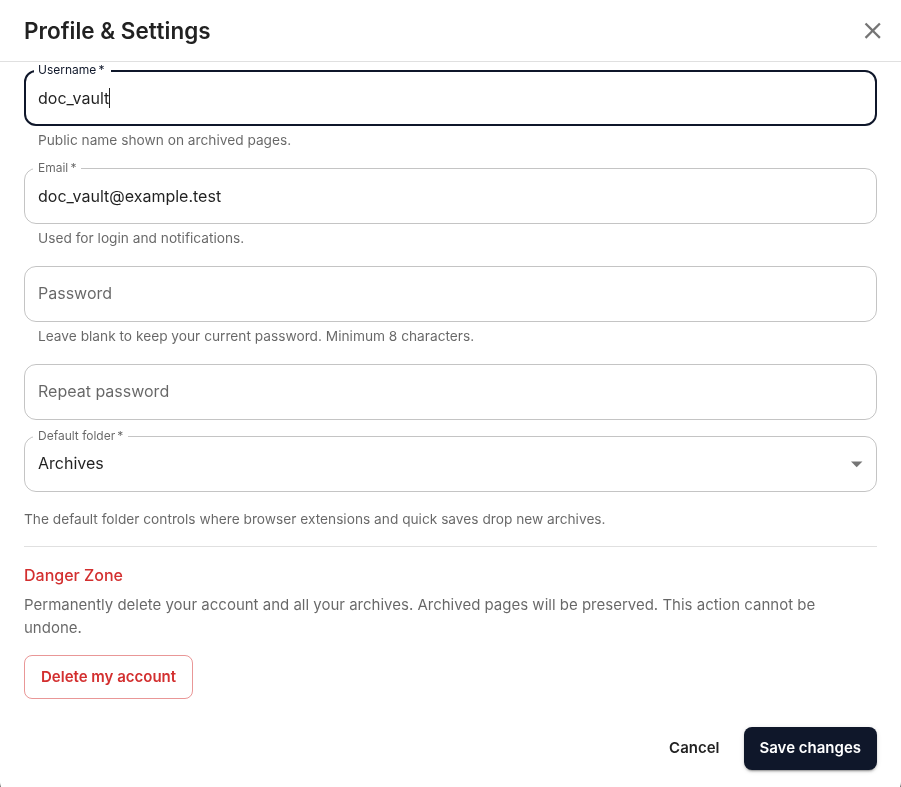
The profile dialog lets you change the account settings that matter to daily work:
- Username
-
Your display name in the application. Must remain unique.
- Email address
-
Used for notifications and account recovery. Changing your email triggers a verification step similar to account activation.
- Password
-
Standard password change with current-password confirmation.
- Default folder
-
The folder where new archives are placed by default. Set this before a large archival session to save time.
The profile dialog also includes a danger zone for permanent account deletion. This action is irreversible and removes your account and all associated data.
11. Importing Archives From Browser Exports
|
Archive import requires Casefile or Vault Command. Users on lower plans do not see the import option. |
If you have an existing collection of bookmarks in your browser that you want to archive in Pemarks, the import feature lets you bring them in as a batch instead of creating each archive one by one.
11.1. Supported Formats
Pemarks can import from:
-
Chrome bookmark HTML export — the standard Netscape-format HTML file that Chrome produces when you export bookmarks
-
Firefox bookmark JSON export — the JSON-format export from Firefox’s bookmark manager
11.2. How Import Works
-
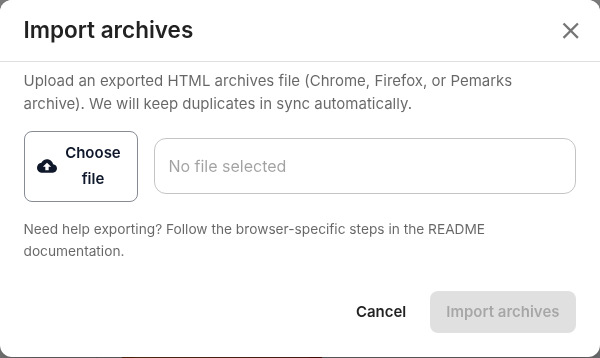
Open the user menu and choose Import Archives.
-
Select the browser export file from your computer.
-
Submit the import.
-
Pemarks reads the file, extracts the URLs and folder structure, and queues them for archival.
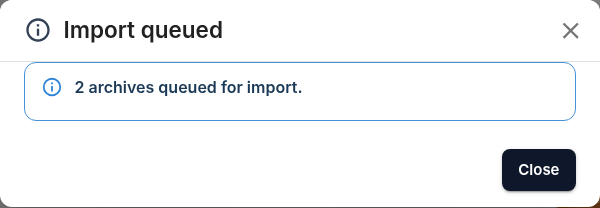
A successful import means "the archive list was accepted and queued." It does not mean every imported page is already archived and ready. After import, each URL goes through the normal archival pipeline — browser rendering, resource capture, proof generation — just like any other archive.
11.3. What To Do After Import
-
Return to the archives workspace
-
Watch the imported archives as they move through processing states
-
Correct titles or folder placement where needed
-
Open archived copies only after the relevant entries show as ready
For large imports, this process can take time. Pemarks processes archives in the background, and you can continue using the application while it works.
12. Logging Out And Session Behavior
Logout is available from the user menu. A normal logout ends your application session and returns you to the login page.
If your session expires due to inactivity, the application redirects you to the login page with a message explaining that you need to authenticate again. No data is lost — your archives, folders, and settings remain intact.
13. Getting Started Checklist
For new users, here is the shortest reliable path to productive use:
-
Create and activate your account. Complete registration and follow the activation email link.
-
Log in and explore the dashboard. Familiarize yourself with the quick actions and your current plan status.
-
Set your default folder. Go to Profile & Settings and choose the right default folder before you start archiving.
-
Create your first archive. Pick a page you care about and archive it. Watch the status change from loading to ready.
-
Open the archived copy. Once the archive is ready, open it. Notice the information banner in the top-left corner — it gives you access to the screenshot, PDF, extract report, and other proof artifacts.
-
Review your subscription plan. Understand what features are available to you and what requires an upgrade.
-
Organize folders. If you plan to archive many pages, set up your folder structure before starting a large session.
The next chapter explains how archives evolve over time: creating new versions, understanding refresh versus new capture, and automating archival with schedules.